While you can always share a link to a Virtualize It 3D model, another option is to directly embed the model onto your website. This way your model will appear in the middle of your webpage, just like a YouTube video does. For example:
 ►
Explore 3D Space
►
Explore 3D Space
INSTRUCTIONS
- Set your model to Public.
- Identify the webpage where you want to add your model.
- Add the following HTML source code to the webpage.
- <iframe width="853" height="480" src="https://my.matterport.com/show/?m=xxxxxxxxxxx" frameborder="0" allowfullscreen allow="xr-spatial-tracking"></iframe>
- Exact instructions depend on your website’s unique code.
- Replace the URL in the src attribute.
- Example: Instead of https://my.matterport.com/show/?m=xxxxxxxxxxx (as shown above), use the URL to your specific Matterport model.
- In addition, you can add additional URL parameters as well.
- Include “allowfullscreen” to your iframe code when embedding.
- This will allow your mobile audience to view the model in fullscreen mode, or in VR
Using a Third Party CMS (WordPress, Drupal, Wix, Zendesk, Medium)
If you’re using a third party content management system to manage your website, you’ll need to open the HTML source code for that page, then follow the instructions below.
- Log into your CMS backend.
- Find the post/page/article you want to edit.
- Switch your CMS view to look at the source code.
- This is almost always by clicking the </> button in your CMS – see below
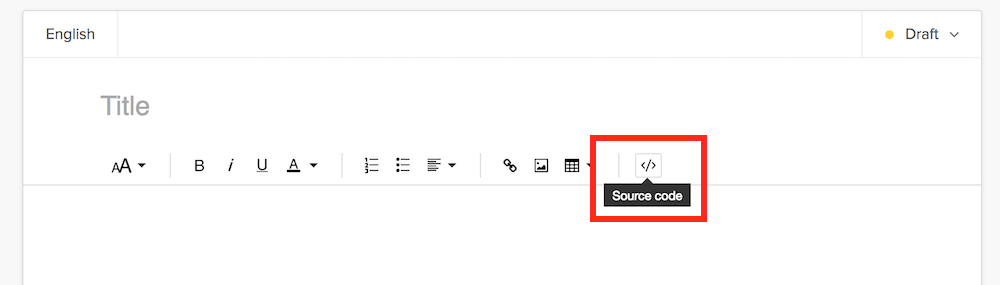
- You will need some basic HTML knowledge in order to navigate the code and determine exactly where to paste the <iframe>.
- Certain CMSs (like Zendesk, which we use) may require that you select “Allow unsafe HTML”s in order for the iframe to properly run.
- This is almost always by clicking the </> button in your CMS – see below
WordPress CMS
WordPress.com does not allow iframes, meaning you can’t imbed a Virtualize It 3D model into a WordPress post.
Websites that use the WordPress CMS, however, do allow iframes, meaning you can paste the iframe code directly into any given page. You can use the following WP plug-ins to do this:
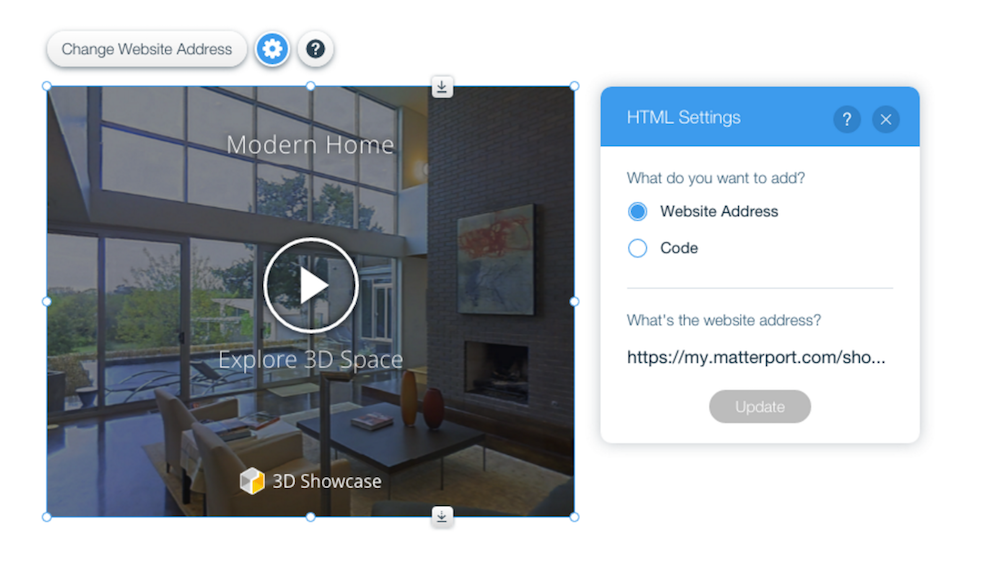
Wix
Follow the instructions below to embed a Virtualize It model into your Wix page.
- Open the Wix page where want to embed the code.
- Click “Add” > “More” > Embed a Site.
- Drag the gray box that appears to reposition the embed on the page.
- Click “Enter Website Address”.
- Paste the URL in the field – you will see the 3D showcase appear in the box.
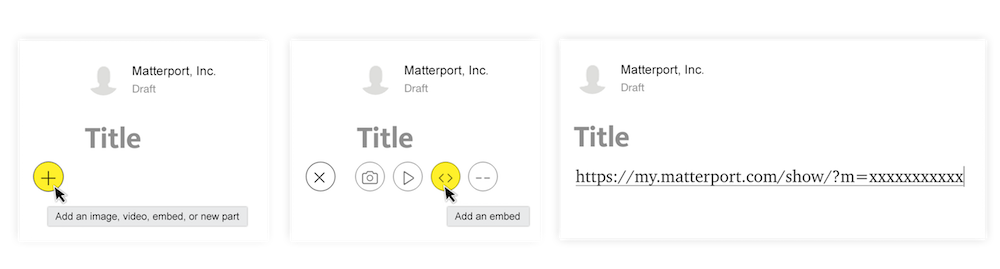
Medium Blog Post
Follow the instructions below to imbed a Virtualize It model into your Medium blog post.
- Open the Medium page where you want to embed the code.
- Click the “+” button to add a new section.
- Click <> to specify that you want to imbed a code.
- Paste your 3D model’s URL.
Placester
Follow the instructions below to imbed a Virtualize It model into Placester.
- Open the Placester page where you want to imbed the code.
- Click the HTML icon “<>”.
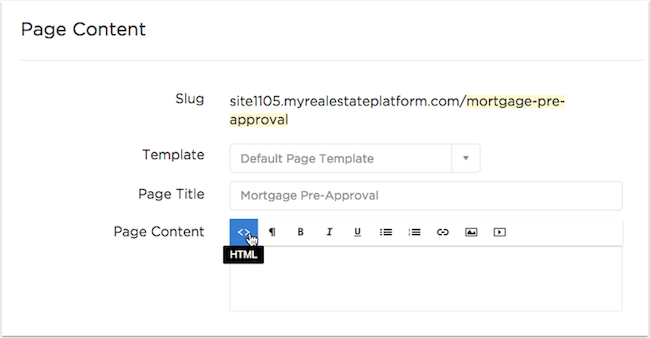
- Paste the iframe embed code.
- Click the HTML icon “<>” to return to the visual editor.
- You should now see your iframe embedded directly.
- Save your changes to make the imbed live on the site.
Direct Access to the HTML Source Code
If your CMS doesn’t allow you to make changes, you’ll need to contact your site’s webmaster and ask for access – if you do have access to edit your site’s HTML, add the <iframe> code directly to the HTML source code.